Kiran has sewn eight (!) Norwood blouses and dresses for herself, and she’s here to show off a few of them and to talk about why she likes this pattern so much.
Read More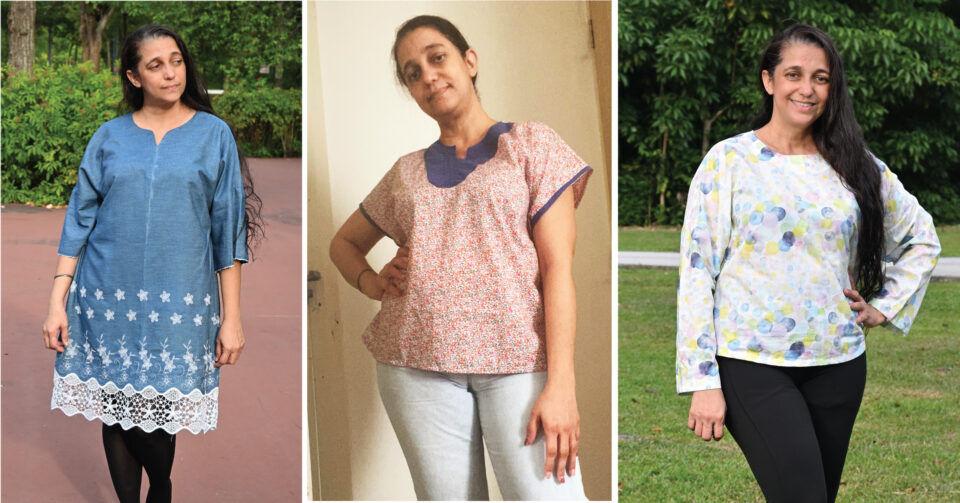
Kiran has sewn eight (!) Norwood blouses and dresses for herself, and she’s here to show off a few of them and to talk about why she likes this pattern so much.
Read MoreOur big summer sale has arrived! This week only, you’ll save 40% on our patterns and the Building Block Dress book when you use this special coupon code.
Sue dropped by to explain her steps to make this spectacular kantha quilt Helsinki Jacket. Have you considered a quilt for your version of this style?
Our fabulous testers came through with some really nice Leyton Knit Tanks and Dresses, as usual. And keep in mind our special offer if you buy all three of the new spring patterns. Details at the end of the post.
Today our testers are showing off their Helsinki Jackets in lots of different fabrics and colors, and don’t forget our special offer if you buy all three of our new spring patterns. Details at the end of this post.
Take a look at how our testers sewed the Norwood Blouse! And this week only we have a special offer for you if you buy all three of our new spring patterns. Keep reading for details.
This season I had the chance to develop all the patterns that have been living in my head (and on my wish list) for a long time. Pieces that I felt like our collection was missing and that I wanted …
The Helsinki Jacket was such a pleasure to develop, and I’m really happy to finally show it to you! It’s such an easy, relaxed piece, quick and simple to sew, but with so much style. The testers loved it, too, …
The Norwood Top + Tunic is a versatile top that can be sewn in a variety of fabrics for multiple looks. Here are some inspiration and some fabric suggestions to get you started.
Introducing the Leyton Knit Tank + Dress, an easy knit pattern for a classic and versatile wardrobe essential. It includes a unique binding technique for the neck and armholes, and it has cup sizes to give you a good fit!
Introducing the Helsinki Jacket, a simple, unlined cropped and boxy jacket that comes with two views and with lots of style. Try it in lightweight fabrics this spring and summer and in heavier wool next fall.
Introducing our new Norwood Blouse sewing pattern. Simple and a bit minimalist in its styling, it’s easy to sew and extremely versatile.
What would you do with an old crochet tablecloth or shower curtain? What about a cute lacey shopping bag? Or even clothing?
Your most recent photos posted to the Oliver + S Flickr group.
The most recent photos from Oliver + S on Instagram.
Unless otherwise credited, all work on this blog is © Liesl + Co., Inc, 2008-2026. You are welcome to link to this blog, but please ask permission before using any text or images.