Every so often, we get a question from someone who is sewing the back placket on the Swingset Tunic. That’s understandable. This element of the garment uses a unique and unusual construction technique that will be unfamiliar to almost anyone sewing from the pattern for the first time.
We’re extremely grateful to April Henry, of April 1930’s, who has been kind enough to put together a very nice photo tutorial on this step in the garment’s construction. Her tutorial will help guide you through the process if you have questions about this step. So, without further ado, here’s April’s tutorial.
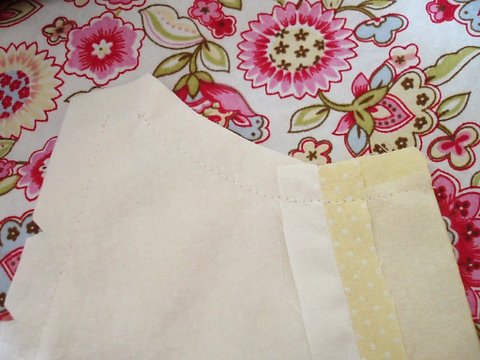
Follow the instructions to sew the back edge of the lining to the back yoke and re-fold the two layers to form the placket.
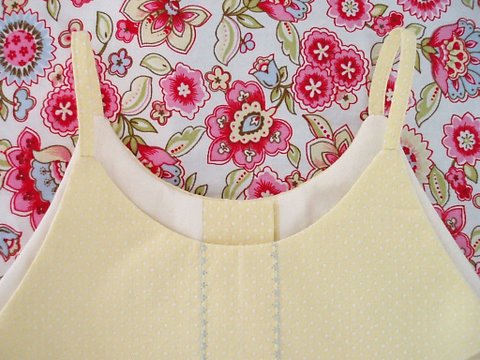
Then follow the instructions to attach the straps to the back bodice.
The finished yoke or bodice, before attaching the ruffle, looks like this:
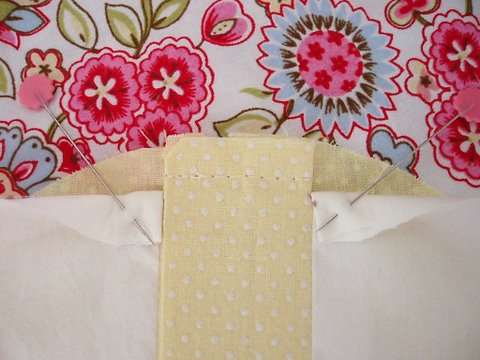
Baste the two plackets together with a 3/8” seam. Being careful to start and stop only on the placket section, as shown below. Don’t stitch the lining in this step.
Now you are ready to attach the back section to the ruffle.
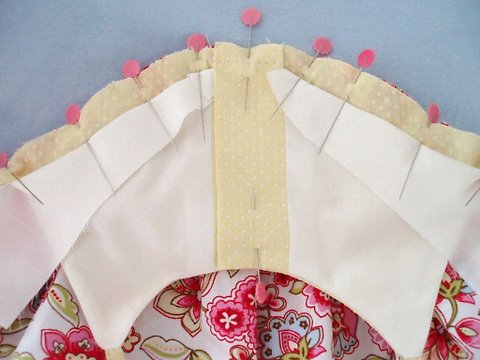
Stitch the back pieces to the ruffle with a 1/2 inch seam allowance, being careful not to catch the lining in the seam. Pinning the lining out of the way will aid in this step.
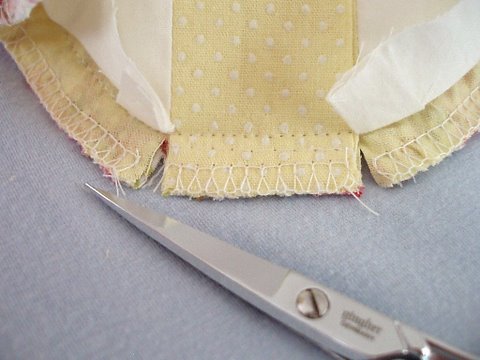
Finish the seam allowances as desired (I serged) and then clip the seam on each side of the placket. The placket seam will remain down, while the other seams will be pressed up towards the bodice and tucked inside the lining.
Continue with the garment construction as indicated in the pattern.


And here’s the finished result.

 If you’re interested in the special, decorative zigzag stitching that April has used to finish the front of the top she’s sewn for this tutorial, she information available on her site on the special, vintage foot she used. Be sure to check out the vintage TV commercial that she includes in this page. It’s a classic.
Love it! April's photos are as much of a work of art as your designs, Liesl. 🙂
Compliments, it is nice and easy to follow instructed.
very cute
i like it