French seams give the wrong side of a garment a clean, finished appearance. This is an especially useful finish for very lightweight or sheer fabrics where a zigzagged or serged seam allowance might be visible. But it can also help to stabilize a fabric, like linen, that is prone to fraying or to seam slippage. French seams are usually not appropriate for heavy fabrics because the multiple layers are too bulky.
French seams are easiest and most appropriate to use along straight edges. They aren’t generally appropriate for curved seams like an armhole, since curves will cause the fabric to pucker when finished. However, with a gentle curve like the side underarm portion of the Ice Cream Dress (shown below), I’ll show you a tip that will help you to stitch a French seam without puckering.

A French seam is made by stitching the seam twice—first stitching with the fabric’s wrong sides together, and then stitching a second time with the fabric folded over the seam allowances so the right sides are together. This second row of stitches encases the seam allowances inside the seam. You’ll find full instructions below. Note that these measurements are appropriate for a 1/2″ seam allowance. You’ll need to adjust the measurements if your pattern calls for seam allowances of a different size.
1. Pin the edges to be sewn, with wrong sides together, and stitch them with a 1/4″ seam, backstitching at the beginning and end of the seam to secure the stitches.

2. Press the seam allowances open and trim them to 1/8″.

Then fold the fabric over the seam allowances, so the right sides are facing and the seam allowances are sandwiched between the two layers. Press the fabric at the fold (the first seam) to flatten it and get a nice crease, and then pin the two layers together near the fold.
HINT: If you’re sewing a slightly curved seam, you can prepare the fabric by straightening and stretching the first seam at the curve as you press it. By stretching the seam slightly, it won’t pucker and tug when the seam is finished.

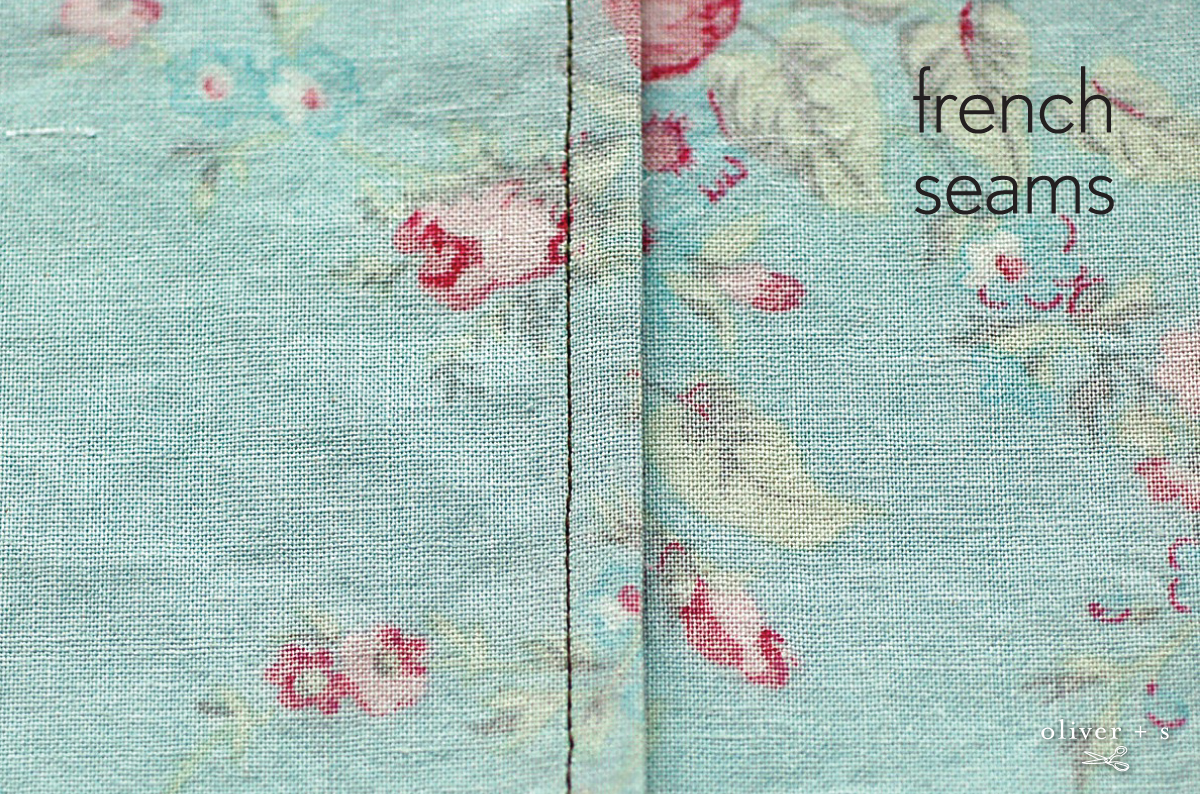
3. Stitch the pinned seam again, this time 1/4″ from the folded and pinned edge. This second seam neatly encases the seam allowances’ raw edges. Press the seam flat first, and then press them to one side.


Fairly simple to do, right?
I resisted learning how to do french seams because I thought it would be difficult. This looks dead easy. Can’t wait to get my patterns.
Thanks. I’ve been using this technique for some time. But you may be suprised to learn that in french they are called “coutures anglaises” = english seams !
and now i guess everyone will be confused: who invented this? the french? the english? Neither?
Thanks for this tutorial. I had been using a different technique for this, but yours looks easier. I love the way they look, so I’ll give it a try.
I tried french seams on the pop-over sundress and I love them! It feels SO wrong when you do the first seam, though. LOL
you make it all seem so easy thanks.
This is great! Thanks so much for the how-to, I’ll be linking.
I do french seams in most of my little ones’ clothes. I love the nice finished look it gives things. Easy peasey! Now flat felled seams on the other hand, those give me fits.
Wow! I’ve always been intimidated by these, but it looks very easy and straightforward. Thanks for the tutorial – will definitely be attempting these soon!
What I want to know is what fabric print that is – BEAUTIFUL!
Thank you so much for posting this-I hate the raw edges of homemade clothing and this is so much better than pinked seams..
and these directions are so clear!
I also do French seams in almost any clothes I can get away with. I did it only all the popover dresses (5 of them) I’ve made. And saw you did it on the Ice Cream dress so wondered whether French seam can be used where it has a curve because I read somewhere that it only works on straight edges.
Any thoughts?
I did this when I made the teaparty sundress (for the skirt part)… it worked really well… I had no idea the technique had a name!
I just tried this for the first time for my Ice Cream Dress that I am making for the Ice Cream Social- SO EASY!! And I LOVE the finished look that it gives on the inside! Thanks for sharing this! I am so excited to have a more professional finish on the inside of the clothes too!
Et en France, ce sont les coutures anglaises, .
French seams are like adding the fine touches to a dress. The first time was a great struggle but there is a first time for everything. I like the way it gives that neat and tidy look.
I love these seams, too. I learned another tip from the Threads DVD Insider Techniques. Instead of first sewing the fabric and then cutting the seam allowance down, you can serge the fabric in the first step. In this way you have a clean finish and skip trimming the fabric. Thanks for the tip for how to use the seam on curved edges.
I just made the ice cream dress. I wish the hint about the French seam was BEFORE it tells you to sew the sides. I love the idea of a French seam, but did not feel like unpicking my seam, so I’ll do it on the next dress. 😀
I just tried this for the first time following the blog instructions (very clear thank you). Lovely finish to my little Hopscotch skirts. Since I don’t have an overlocker this technique is not much slower than zigzag stitching each seam allowance and soooo much prettier. Thanks
Wish I had known how to do this when I made my canopy for my porch swing! This is awesome!!
So, on a standard pattern with a 5/8″ seam allowance, would you first stitch a 3/8″ seam, trim it and then stitch the 1/4″?
Vickie, that’s exactly right! (Or that’s how I do it, anyway…)
Leisl can I ask – am I able to do French seams on the Class Picnic Blouse pattern? I just love this seam finish however not sure how to do it with the sleeves as they are in the pattern? Ie, they are already sewn on…Thanks so much!
Jennifer, yes you can do them. I’d suggest posting your query to our forums where other members will see your question and be able to help. I know a lot of our members use French seams on a regular basis, including for sleeves.
I read a tutorial that has you cut the left side smaller leaving the right side wider to fold over the left seam. Also read one where you can use a double needle.
My mother in law showed me how to do this 38 years ago. Love doing this, makes it look very nice and clean seams.
I have been doing French seams on all of my sheer garments for years. It not only prevents raveling, but it also makes my seams look professionally finished. The rest of the seams I either serge or hem on each side. I like for my garments to look as good on the inside as they do on the outside.
I just tried French seams for the first time on Popover sundresses for my girls – my serger needs rethreading and I was too lazy to bother for a total of four straight seams! So I tried the French seams using this tutorial and am very happy with the result!
I would like to subscribe.